Happy Fall Y’all!
What a wonderful time of year; cider, scarecrows, pumpkin spice everywhere, light sweaters, and trendy boots.
What’s not to love?

I have been loving all the shops- decked out in their Fall finest. It’s such a delight to the senses!
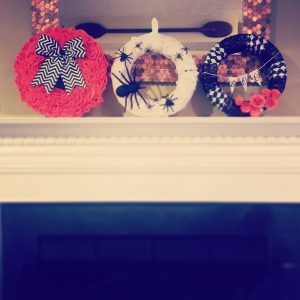
I wanted to create a few Halloween wreaths and take you through the steps. It’s a perfect time to adorn your door with a personal touch, and you would be surprised at how easy it can be.
If these three are still out of your comfort zone, I’ll give you an even simpler way to jazz up that entryway.

So here we go!
( All supplies for each wreath can be found at your local craft stores, except for the smallest spiders- I found them at my local Dollar Store.)
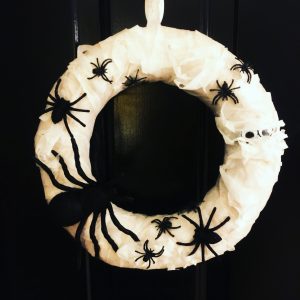
Mummy wreath Skill level: beginner
Materials needed:
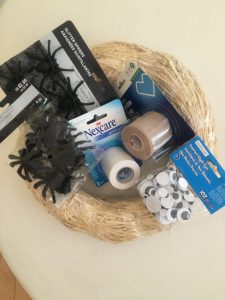
1 12″ straw wreath form
1 pack of of brown-ish stretchy “gentle” tape/gauze( 10 yards)
1 pack of white ” gentle paper” tape/gauze ( 10 yards)
Assorted sizes of spiders
a small strip of black duck tape
1 set of googly eyes ( size – your choice)
glue gun/ craft glue
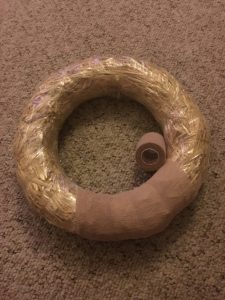
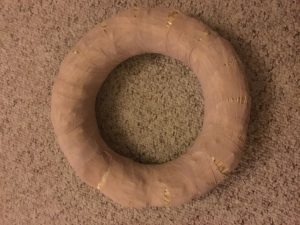
Step 1: Wrap your straw wreath form in the brown stretchy tape.(I had JUST enough, and at this stage it’s totally okay if it’s not perfect and some straw is showing.
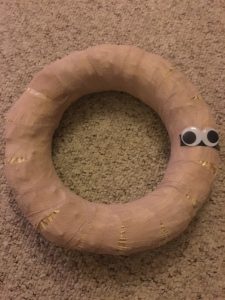
Step 2: Take your strip of duck tape and stick it across the right side of the wreath. (@ 3 o’clock position) Glue your googly eyes to the tape. ( I ultimately decided to go with smaller eyes once I was done… just a preference thing…)
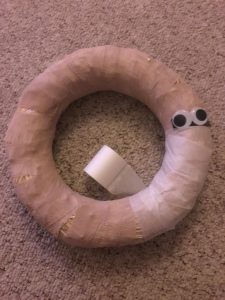
Step 3: Wrap your wreath form in the white gentle tape.
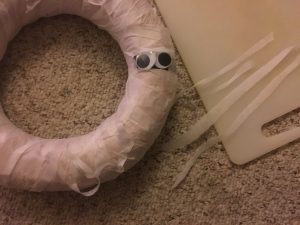
Step 4: To create the “mummy” effect, take your white tape and rip into thin strips. Take the strips and put them all over the wreath in different directions, twisting, etc. Make sure to slightly cover your googly eyes… think mummy eyes!
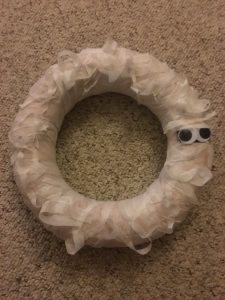
Step 5: Arrange your assorted spiders all over the wreath. I glue AFTER I am happy with the location. * It helps to put the wreath up on a door at this point- this is the angle of the finished product, so you want to make sure things look nice this way!
DONE! Enjoy!
Black & White Wreath with Orange Paper Flowers & Banner
Skill level: Intermediate

Materials:
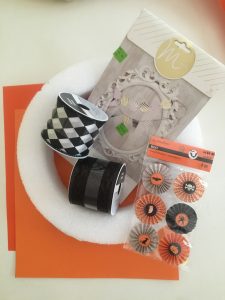
A 12″ FLAT- top ( 2 inch thick) Styrofoam wreath form
A roll of any kind/pattern of white ribbon (about 2 1/2 inches thick, 12 ft long)
A roll of any kind/pattern of black ribbon (about 2 1/2 inches thick, 12 ft long)
Bead top pins
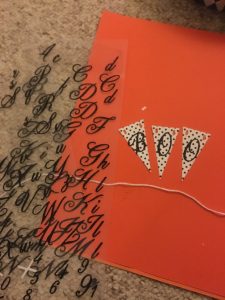
Sticky Alphabet letters- your choice- I had “fancy black” in my supplies
2 different shades of double sided orange card stock
or
6 pack of Halloween paper embellishments
glue gun
bonus: a FABULOUS find in the clearance section- a Heidi Swap banner kit
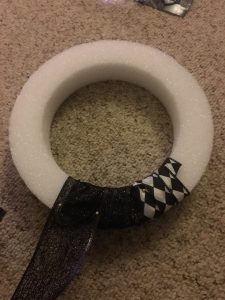
Step 1: Take your first ribbon- I used my “white patterned”- and begin to wrap it around the wreath form about 3 times. I had about an inch or so between the layers. Secure the ribbon with 2 pins. Cut flush with the wreath edge.
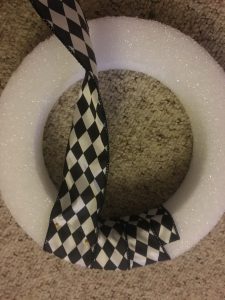
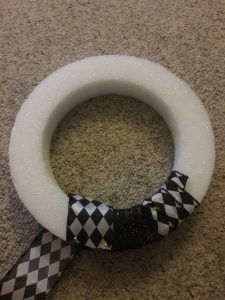
Step 2: Beginning where you left off with the first ribbon, grab your black ribbon and secure with 2 pins. Wrap about 3 times around the wreath form, leaving around an inch between the layers. Cut flush with the wreath edge again.
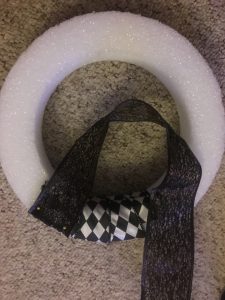
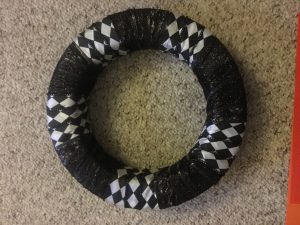
Step 3: Repeat steps 1 & 2 until you have covered the wreath form completely. Once again- DO NOT worry if it doesn’t work out perfectly. :O) The ribbons can be maneuvered to create the desired width, etc.
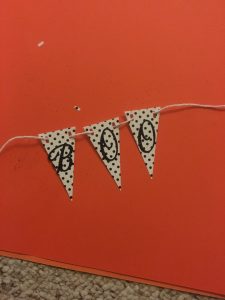
Step 4: Banner- ( *Note: If you can’t find a banner kit- just grab a cute piece of paper, cut 3 deep triangles, and some string.)Take your “B”,”O” & “O” sticky letters and place them on the triangles/pennants.
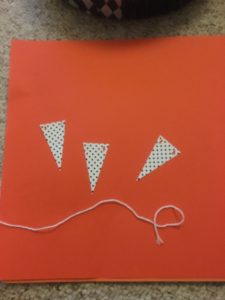
String your 3 small pennants /triangles onto the string, or tape them to the string- leaving about a 1/4 inch between the pennants.
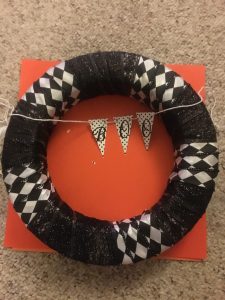
Step 4: Decide where you would like to hang your banner- I always like to “caddy-corner” things, so I ultimately chose a 2 o’clock and 8 o’clock position. Wrap string around to the back of the wreath form and hot glue/ secure with pins.
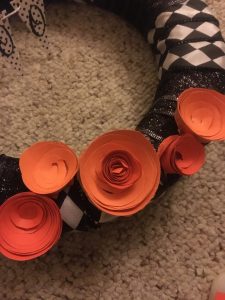
Step 5: Paper flowers-Let’s just show you a wonderful video.
Excited???

Step 6: Arrange your adorable paper flowers on the bottom of your wreath form in anyway you choose! * Again, for this step, I recommend hanging the wreath up for a better view. Arrange first- glue after! Remember: there is no wrong way!
DONE! Enjoy!
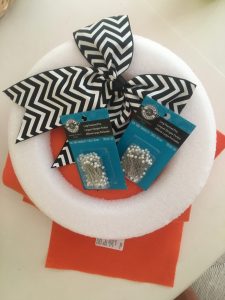
Orange Felt Rosette Wreath with Bow

Skill level: Intermediate/ Advanced* ( *Uber time consuming- yet not as difficult as it looks!)
Materials:
A 12″ flat , 1/4 inch deep round styrofoam wreath form
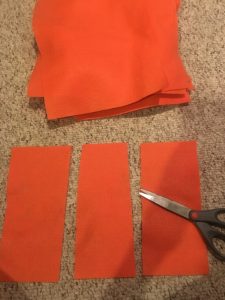
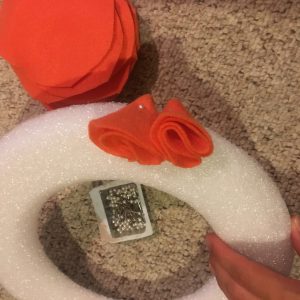
22 sheets of 8 1/2″ X 11″ orange felt
2 boxes of 100 ct. bead pins ( preferably white/clear)
pre-made large black and white bow, or bow of YOUR choice!
Step 1: Take your first piece of felt and cut 3 – 3 inch( or so) wide sections.
Step 2: Take each piece and cut 2 more pieces- creating 6- 3 inch by 3 inch squares.
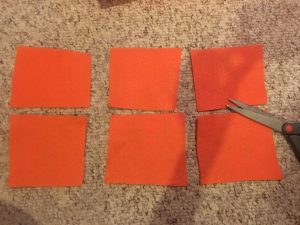
Step 3: Repeat step 2.
Step 4: TAKE A BREAK! * and don’t give up- I know your hands & fingers hurt! Maybe even your hubby will offer to help you complete this step! :O)*
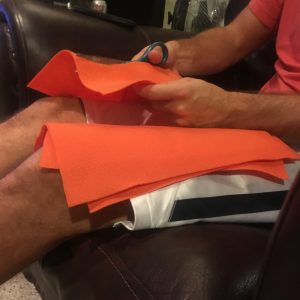
Step 5: (I recommend this step is on a different night that the previous 4! Your hands will be fresh!) Take the first square felt piece and trim the 4 corners off.
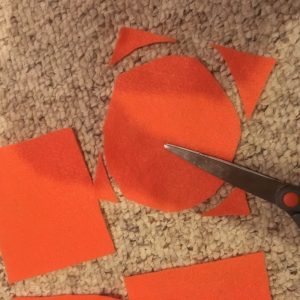
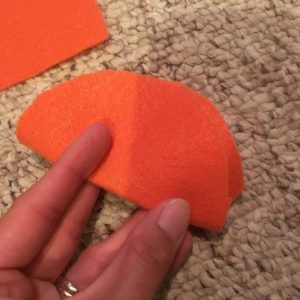
Now you have made a circle!!
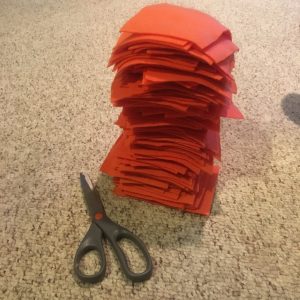
Step 6: Repeat for all 100+ felt squares.

Step 7: Take a break!!!
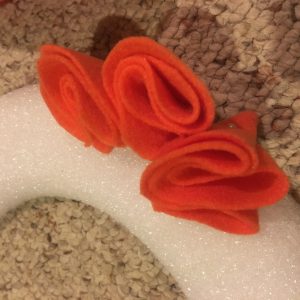
Step 8: Making Felt Rosettes-Take your first felt circle, and fold it in half. Now fold it in half again. And again.

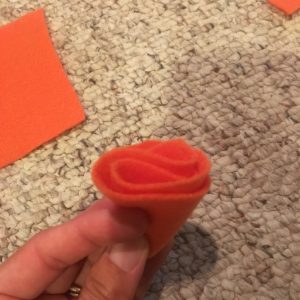
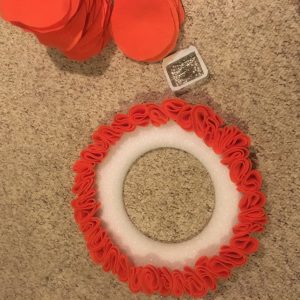
Step 9: Pin rosette to the outside edge of the wreath form.
Step 10: Repeat steps 8 & 9 until the outer edge is complete.
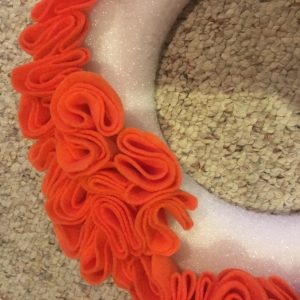
Step 11: Now work your way in & out, up and down, to pin your rosettes to the wreath form. As you continue to fill, you will just place where you see there is a hole. Again- NO WRONG way, just pin! It will look wonderful. Hint- I did alternate the rosettes from opening up and down to opening left and right. It made the arrangement look more natural.
Step 12: Take your large bow and decide where you would like to glue it.
DONE! Enjoy! (And treat yourself to a manicure after all that handy work! )
Okay everyone! How are you feeling? Inspired?? I hope so!
If the above wreaths still look too intense for you- here is one more for you…
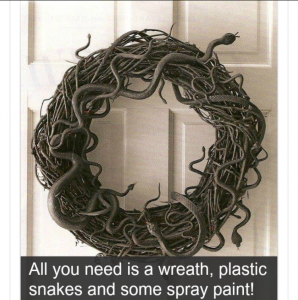
Happy Making!
