Hi all!
How is it only two more days ’till the spooky holiday is upon us?
I was in the making mood last week, and was thinking of some quick, easy and CHEAP things I could do with the girls to deck out the house ( even more).
Below are the directions for these three quick crafts:
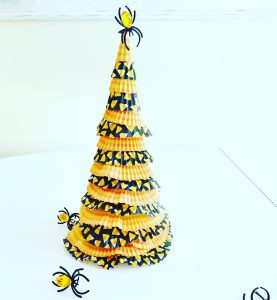


First- The Cupcake Liner Halloween Tree ( how stinkin’ cute??)
Supplies: Cardstock ( does not need to be Halloween-y), cupcake liners- how ever many patterns you’d like, scissors and tape

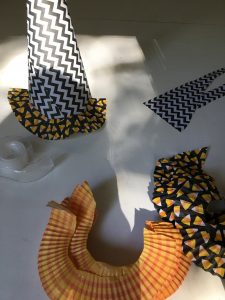
 Step 1: Take your cardstock and make a cone out of it. Trim the bottom to the desired size, and to make sure it sits flat.
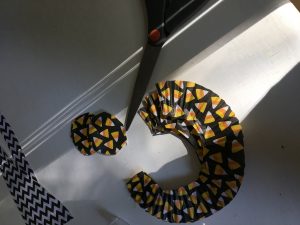 Step 2: Take cupcake liners and cut out the centers.
 Step 3: Wrap the liner around the base of the tree- you will need more than one liner for the bottom half of the tree. Secure with tape.
 Step 4: Continue wrapping liners around the tree, in any pattern you’d like. As you get closer to the top, you can use the left overs from any liners you have already cut. The tippy top only uses a teensy piece :O)
Voila! Enjoy! I would have made a ton more if I had any more liners. I’m totally planning to make a few different ones with the adorable Christmas liners in all the stores!

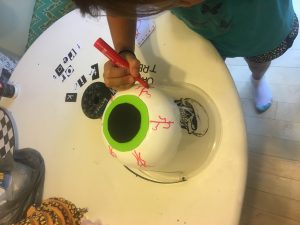
Next craft: Big SPOOKY Eyes for your Bushes/Trees
Materials: Buckets or pumpkins from the Dollar Store, white craft paint, red PERMANENT marker, craft foam, glue, scissors
 Step 1: Paint the bottom of the buckets with the white craft paint. ( We tried to conserve our white paint, and only painted the bottom and a little of the sides. If you have plenty of paint, you can certainly paint the whole bucket.) Let dry.
Step 2: Cut out 2 different sized circles with the green foam ( bigger) and black foam ( smaller). Glue onto the bottom of the bucket.
Step 3: Using a PERMANENT red marker ( our mistake… Autumn’s smelly red marker came right off in last night’s rain) make squiggly eye ” viens” stretching from the foam on down.
Nestle into your bushes and enjoy your new SPOOKY decor.
*I’m planning to put Dollar Store tap lights inside to help them GLOW on Halloween night*
Last craft: White Craft Pumpkin “Trick or Treat” Tower
Materials: Dollar Store craft pumpkins (3), white craft paint, paint brushes, wooden skewers, alphabet stickers, gold glitter, glue, green paper grass, halloween-y ribbon
 Step 1: Stick the wooden skewers into the center of each craft pumpkin, so you won’t have white hands! Paint each pumpkin with the white craft glue. *The girls and I had to do a few coats to cover the orange all the way.*
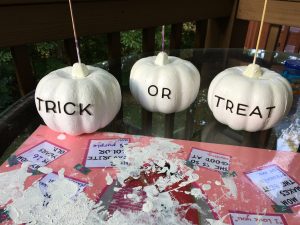 Step 2: Using your alphabet stickers, spell out TRICK OR TREAT on your dry white pumpkins.
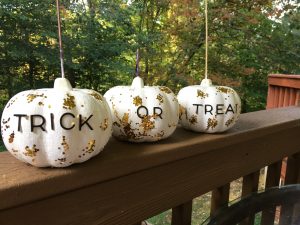 Step 3: ( Mattie LOOVED this part.) Take your cleaned up paint brush and dip it into a bowl of glue. Make ” polka dots” with the glue. Then shake the gold glue over the pumpkin. There is no real right way to do this. That’s why it’s great to let the kiddies help with this! :O) Just try not to cover the words.
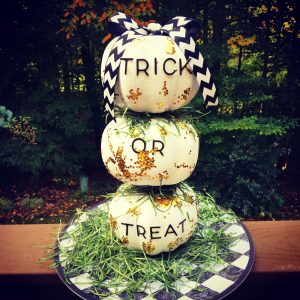 Step 4: Take out the skewers from each pumpkin. Spread the green paper grass down below and between each pumpkin, and line up your tower. Use one long skewer and stick it all the way down into the three pumpkins to secure them. Finish with a bow. * I sprayed the whole thing with spray clear coat to help keep everything in place.*

Enjoy!
I’d love to hear your feedback and see your photos!
Thanks for crafting with me!
Happy Halloween!!!!